Back To Top
Frequently Bought Together
Back to Top
Customers Also Purchased
Customer Reviews
- 5 star 6
- 4 star 1
- 3 star 0
- 2 star 0
- 1 star 0
Average Customer Rating for:
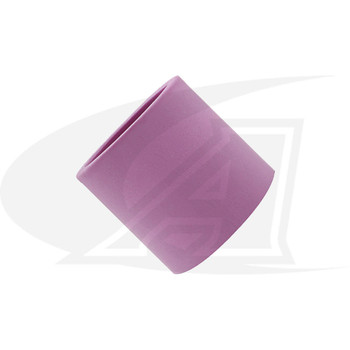
CK Gas Saver™ #8 Cup, 9/20 & 2-Series TIG Torches

5 out of 5 stars
See All 7 Customer ReviewsAdded: 03/17/2022 by Jimmie R.

Works great, just have to be gentle after use. We cracked 2 while placing them down.
Arc-Zone:
Jimmie,
Thanks for the order and for taking time to write a review. Yes the cups will break if dropped or when installed improperly -
Gas Saver Install Tips:
First, make sure you have the correct parts for you model TIG torch!
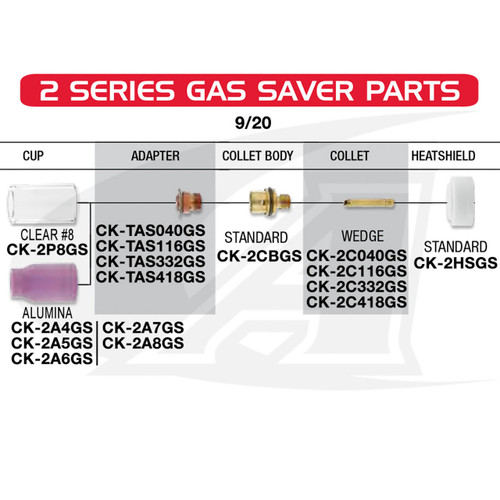
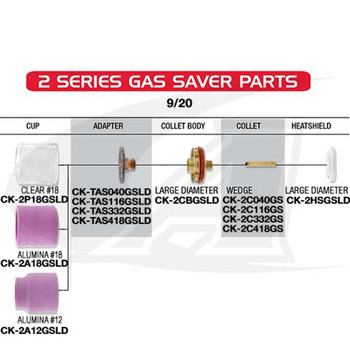
The order of assembly of the Gas Saver parts is important and must be done in sequence. (see exploded parts breakdown that comes with each Pro Kit).
1. Snap the Teflon insulator onto the TIG torch body
2. Thread the brass collet body into the torch (without the back cap installed)
3. Thread the screen stack into the brass collet body
4. Gently push the gas nozzle on to the screen stack. Keep the cup at a slight angle so it does compress or distort the screens
5. Push the cup home and straighten it out as it gets closer to the torch body
6. Push the cup home over the silicone o-ring until it bottoms out into the base of the Teflon insulator.
7. Lastly, install the collet, tungsten electrode and back cap, adjust as needed for the proper tungsten stick out.
Note: The white Teflon insulator will not fit over the brass collet body!
Good welding!